I had been looking for a wider option than my Zero Image 2000 camera, and looked at a couple of commercial options, but in the end, decided to make my own. I had a Nettar body that I had used for another project so I converted it to a 18mm pinhole camera. I initially had quite a few problems with light leaks so I used a lot of black caulking in the interior – not pretty, but effective. I am very pleased with the results from the first roll.
I was interested in exploring the world by sending pinhole cameras through the mail, and having them record their small journeys.
I built pinhole cameras and loaded them with photo paper. I took them to various post offices in the area, opened the shutter and then mailed them to myself. They would generally arrive back within 2 to 10 days.
After the camera returned home, I developed the photo paper to reveal a record of the camera’s journey. I then rewrapped the camera with brown paper, and then sent it out on another journey. The camera pictured below, was reused 9 times.
I conceived of this project before the pandemic, but as things progressed, the idea of sending something out to explore the world, became more relevant.
The pinhole camera. The pinhole is in the “eye” on the shipping label.The images from the small journeys.
Over the years I have made or purchased countless pinhole cameras. What they all have in common is that they recorded the image either onto film or photographic paper. I had always hoped that a pinhole lens on a digital camera would be a viable option, but unfortunately, I have never been satisfied with the results. Here are four different options that I have tried for my Olympus Micro 4/3 camera.
All of the photographs were taken under the same conditions with only the levels adjusted in Photoshop.
Pinhole Body Cap
Quite simple. A body cap with a hole drilled in it and a pinhole put in place.
Pinhole body capTaken with Pinhole Body Cap
Pinhole Rising
I bought this commercially made pinhole body cap from a local camera store. It is a body cap with a metal insert that has the pinhole drilled in it.
Taken with the Rising Pinhole
Wanderlust Pinwide.
I got this one by supporting the original Kickstarter campaign. Made of plastic. It extends well into the camera body and is very close to the sensor.
Wanderlust PinwideTaken with the Wanderlust Pinwide
Thingyfy Pinhole Pro S
Well made of metal and like the Pinwide, extends well into the camera body.
Thingyfy Pinhole Pro STaken with the Thingyfy Pinhole Pro S
Final Thoughts
The Pinhole body cap produced images that are sharper than the Rising Pinhole.
The Wanderlust Pinwide has the widest field of view with some vignetting at the corners. In my opinion it is the sharpest of all 4 lenses.
Both the Pinwide and the Thingyfy show the yellow “blotch” in the upper right side of the image. The Pinwide exhibits this more than the Thingyfy. This “blotch” is caused by the angle at which the light hits the sensor. If the image is converted to black and white it is a non-issue.
ThingyfyWanderlust Pinwide
All 4 of the lenses produce reasonable results in the Micro 4/3 format, but don’t produce the same image quality that can be had shooting film.
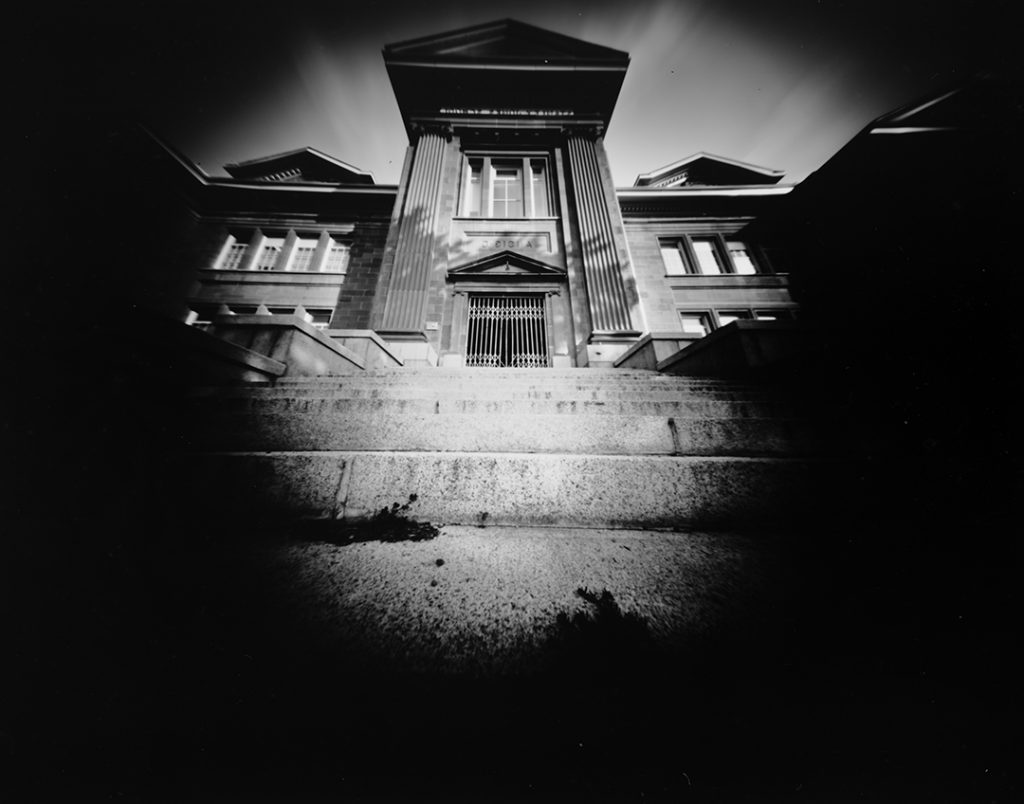
I have been shooting Arista Ortho Litho Film 3.0 in my Zero Image 45 pinhole camera. I had been developing in Dektol 1:30 but found the contrast to be a little high. This time I exposed at an ISO of 3 and developed for 3 minutes in Dektol 1:10 with added Potassium Bromide as a restrainer. The images could have used more exposure but overall I am pleased with the results.
I purchased the Thingyfy pinhole lens for my Micro 4/3 camera. Nice all metal build quality. With a focal length of 11mm and an aperture of f74 it has a very wide angle of view.
I bought the Scura pinhole camera from Dora Goodman. It is a 3d printed camera that you have to assemble yourself. It is a curved film plane panorama camera that I found to have a very strange aspect ratio.
Scura Pinhole Camera
As much as I want to love the camera, unfortunately I find the aspect ratio not to my liking.
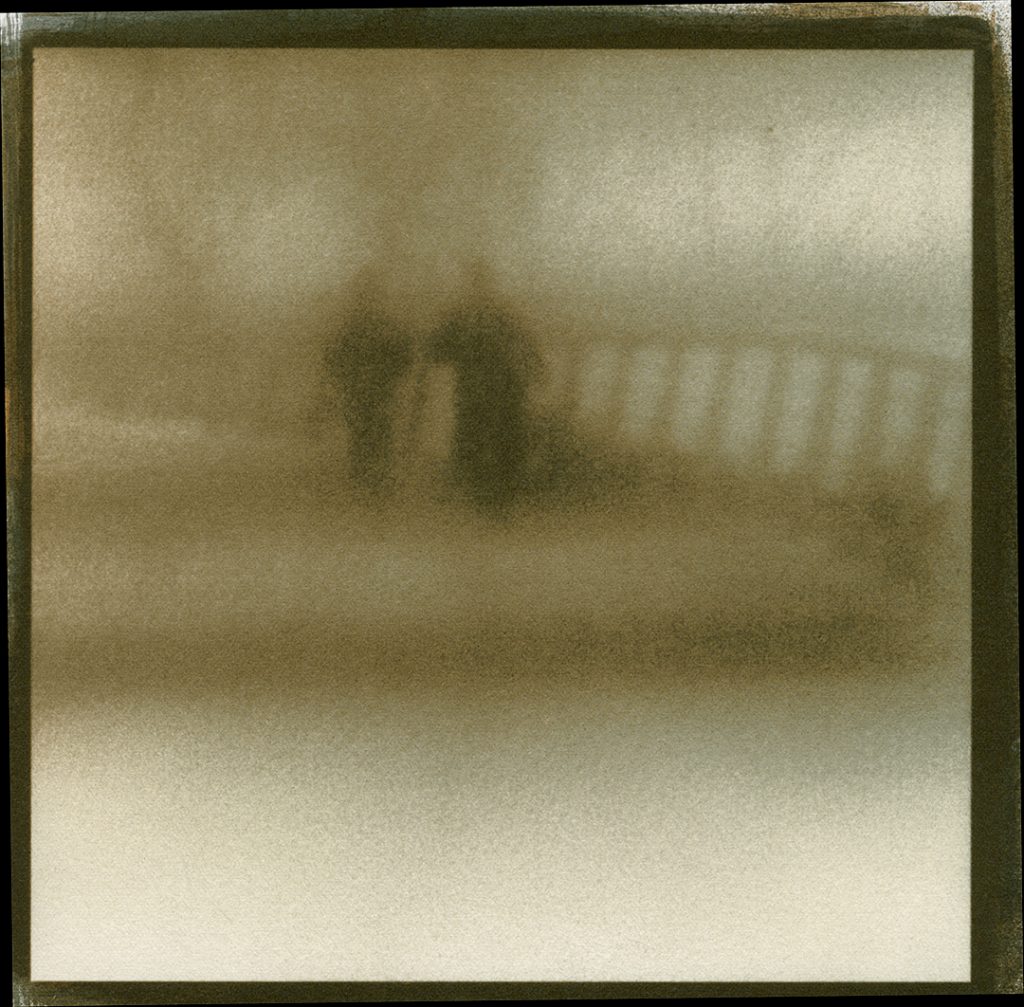
Continuing to print from the archives. The following are zone plate images take with a digital camera. Printed with two layers of ivory black and two layers of burnt umber. The images are perhaps a little less defined than I had intended..