I printed the 120 Scura from files I downloaded from the Goodman website. It printed well and the assembly was straight forward. I used a laser drilled pinhole which I got from Reality so Subtle. I probably won’t use it much because I already have the Zero Image which is a 6×6 as well.
Goodman Scura 120 pinhole cameraTaken with the Goodman Scura pinhole cameraTaken with the Goodman Scura pinhole cameraTaken with the Goodman Scura pinhole camera
For many years I have made my own pinole cameras. Recently I acquired a 3d printer specifically for printing cameras. One of the first was the terraPin 6X6 Incher in the 645 format which I found on Thingiverse. I used PLA and it was easy to print and assemble.
It is the first time I have used the 645 format, and I am finding that I am really like the aspect ratio.
I recently replaced my Holga WPC with a Zero Image 612 Back to Nature model. As always, the Zero Image camera is superb in both image and build quality.
This month is a simple build. I constructed the camera from a metal watch box. Placed the pinhole in the lid and used a simple tape shutter. I folded a 7 inch square of photo paper to fit inside the cube.
The cube pinhole camera.
I was surprised how the image was captured inside the cube, I was expecting more distortion up the sides. Cutting the paper to fit in the cube was a little time consuming. Overall I was overall happy with the results and this could be an interesting start to a larger project.
Came across this in the Dollar Store and thought it would make an interesting camera. I am going to put a pinhole in each of the sides and a circular core in the center to hold a 3.5 x 6 inch strip of photo paper.
Holes drilled in each side of the tin.Hole drilled in the bottom for the tripod mount and to attach the central core.Central core made from a piece cut from a plastic caulking tube.A piece of wood cut to fit inside the tube. It has a 5/16 in hole drilled to accept the T nut.The T nut is driven through the bottom of the can and into the hole in the center core. The interior showing the central core mounted in place.Painting the interior of the camera black. I used two coats of flat acrylic paint.Making the pinholes out of a beer can. I calculated the focal length to be 35mm and a .26mm pinhole was required. The camera will be f135.Mounted a pinhole in each of the 8 sides of the camera.The finished camera.Example 1Example 2Example 3Example 4
I am glad that I built the 8 sided camera but it is not something I will use regularly. The camera is really fiddly to load and I don’t find the resulting images all that exciting.
Over the years I have made or purchased countless pinhole cameras. What they all have in common is that they recorded the image either onto film or photographic paper. I had always hoped that a pinhole lens on a digital camera would be a viable option, but unfortunately, I have never been satisfied with the results. Here are four different options that I have tried for my Olympus Micro 4/3 camera.
All of the photographs were taken under the same conditions with only the levels adjusted in Photoshop.
Pinhole Body Cap
Quite simple. A body cap with a hole drilled in it and a pinhole put in place.
Pinhole body capTaken with Pinhole Body Cap
Pinhole Rising
I bought this commercially made pinhole body cap from a local camera store. It is a body cap with a metal insert that has the pinhole drilled in it.
Taken with the Rising Pinhole
Wanderlust Pinwide.
I got this one by supporting the original Kickstarter campaign. Made of plastic. It extends well into the camera body and is very close to the sensor.
Wanderlust PinwideTaken with the Wanderlust Pinwide
Thingyfy Pinhole Pro S
Well made of metal and like the Pinwide, extends well into the camera body.
Thingyfy Pinhole Pro STaken with the Thingyfy Pinhole Pro S
Final Thoughts
The Pinhole body cap produced images that are sharper than the Rising Pinhole.
The Wanderlust Pinwide has the widest field of view with some vignetting at the corners. In my opinion it is the sharpest of all 4 lenses.
Both the Pinwide and the Thingyfy show the yellow “blotch” in the upper right side of the image. The Pinwide exhibits this more than the Thingyfy. This “blotch” is caused by the angle at which the light hits the sensor. If the image is converted to black and white it is a non-issue.
ThingyfyWanderlust Pinwide
All 4 of the lenses produce reasonable results in the Micro 4/3 format, but don’t produce the same image quality that can be had shooting film.
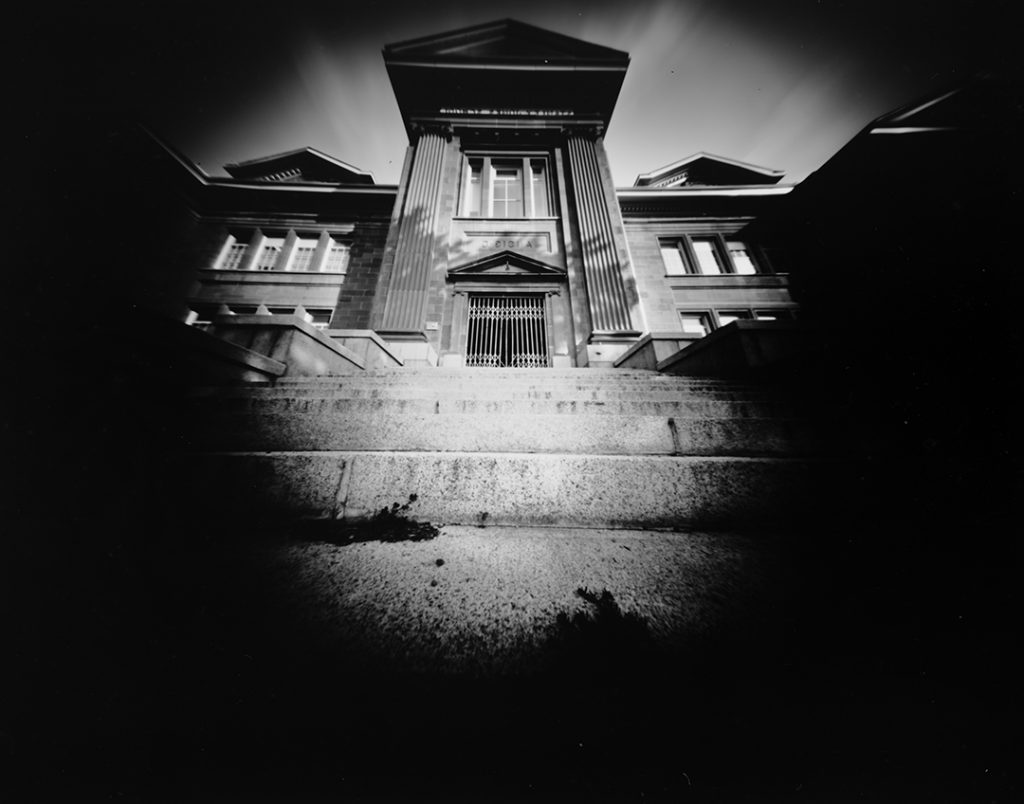
I have been shooting Arista Ortho Litho Film 3.0 in my Zero Image 45 pinhole camera. I had been developing in Dektol 1:30 but found the contrast to be a little high. This time I exposed at an ISO of 3 and developed for 3 minutes in Dektol 1:10 with added Potassium Bromide as a restrainer. The images could have used more exposure but overall I am pleased with the results.